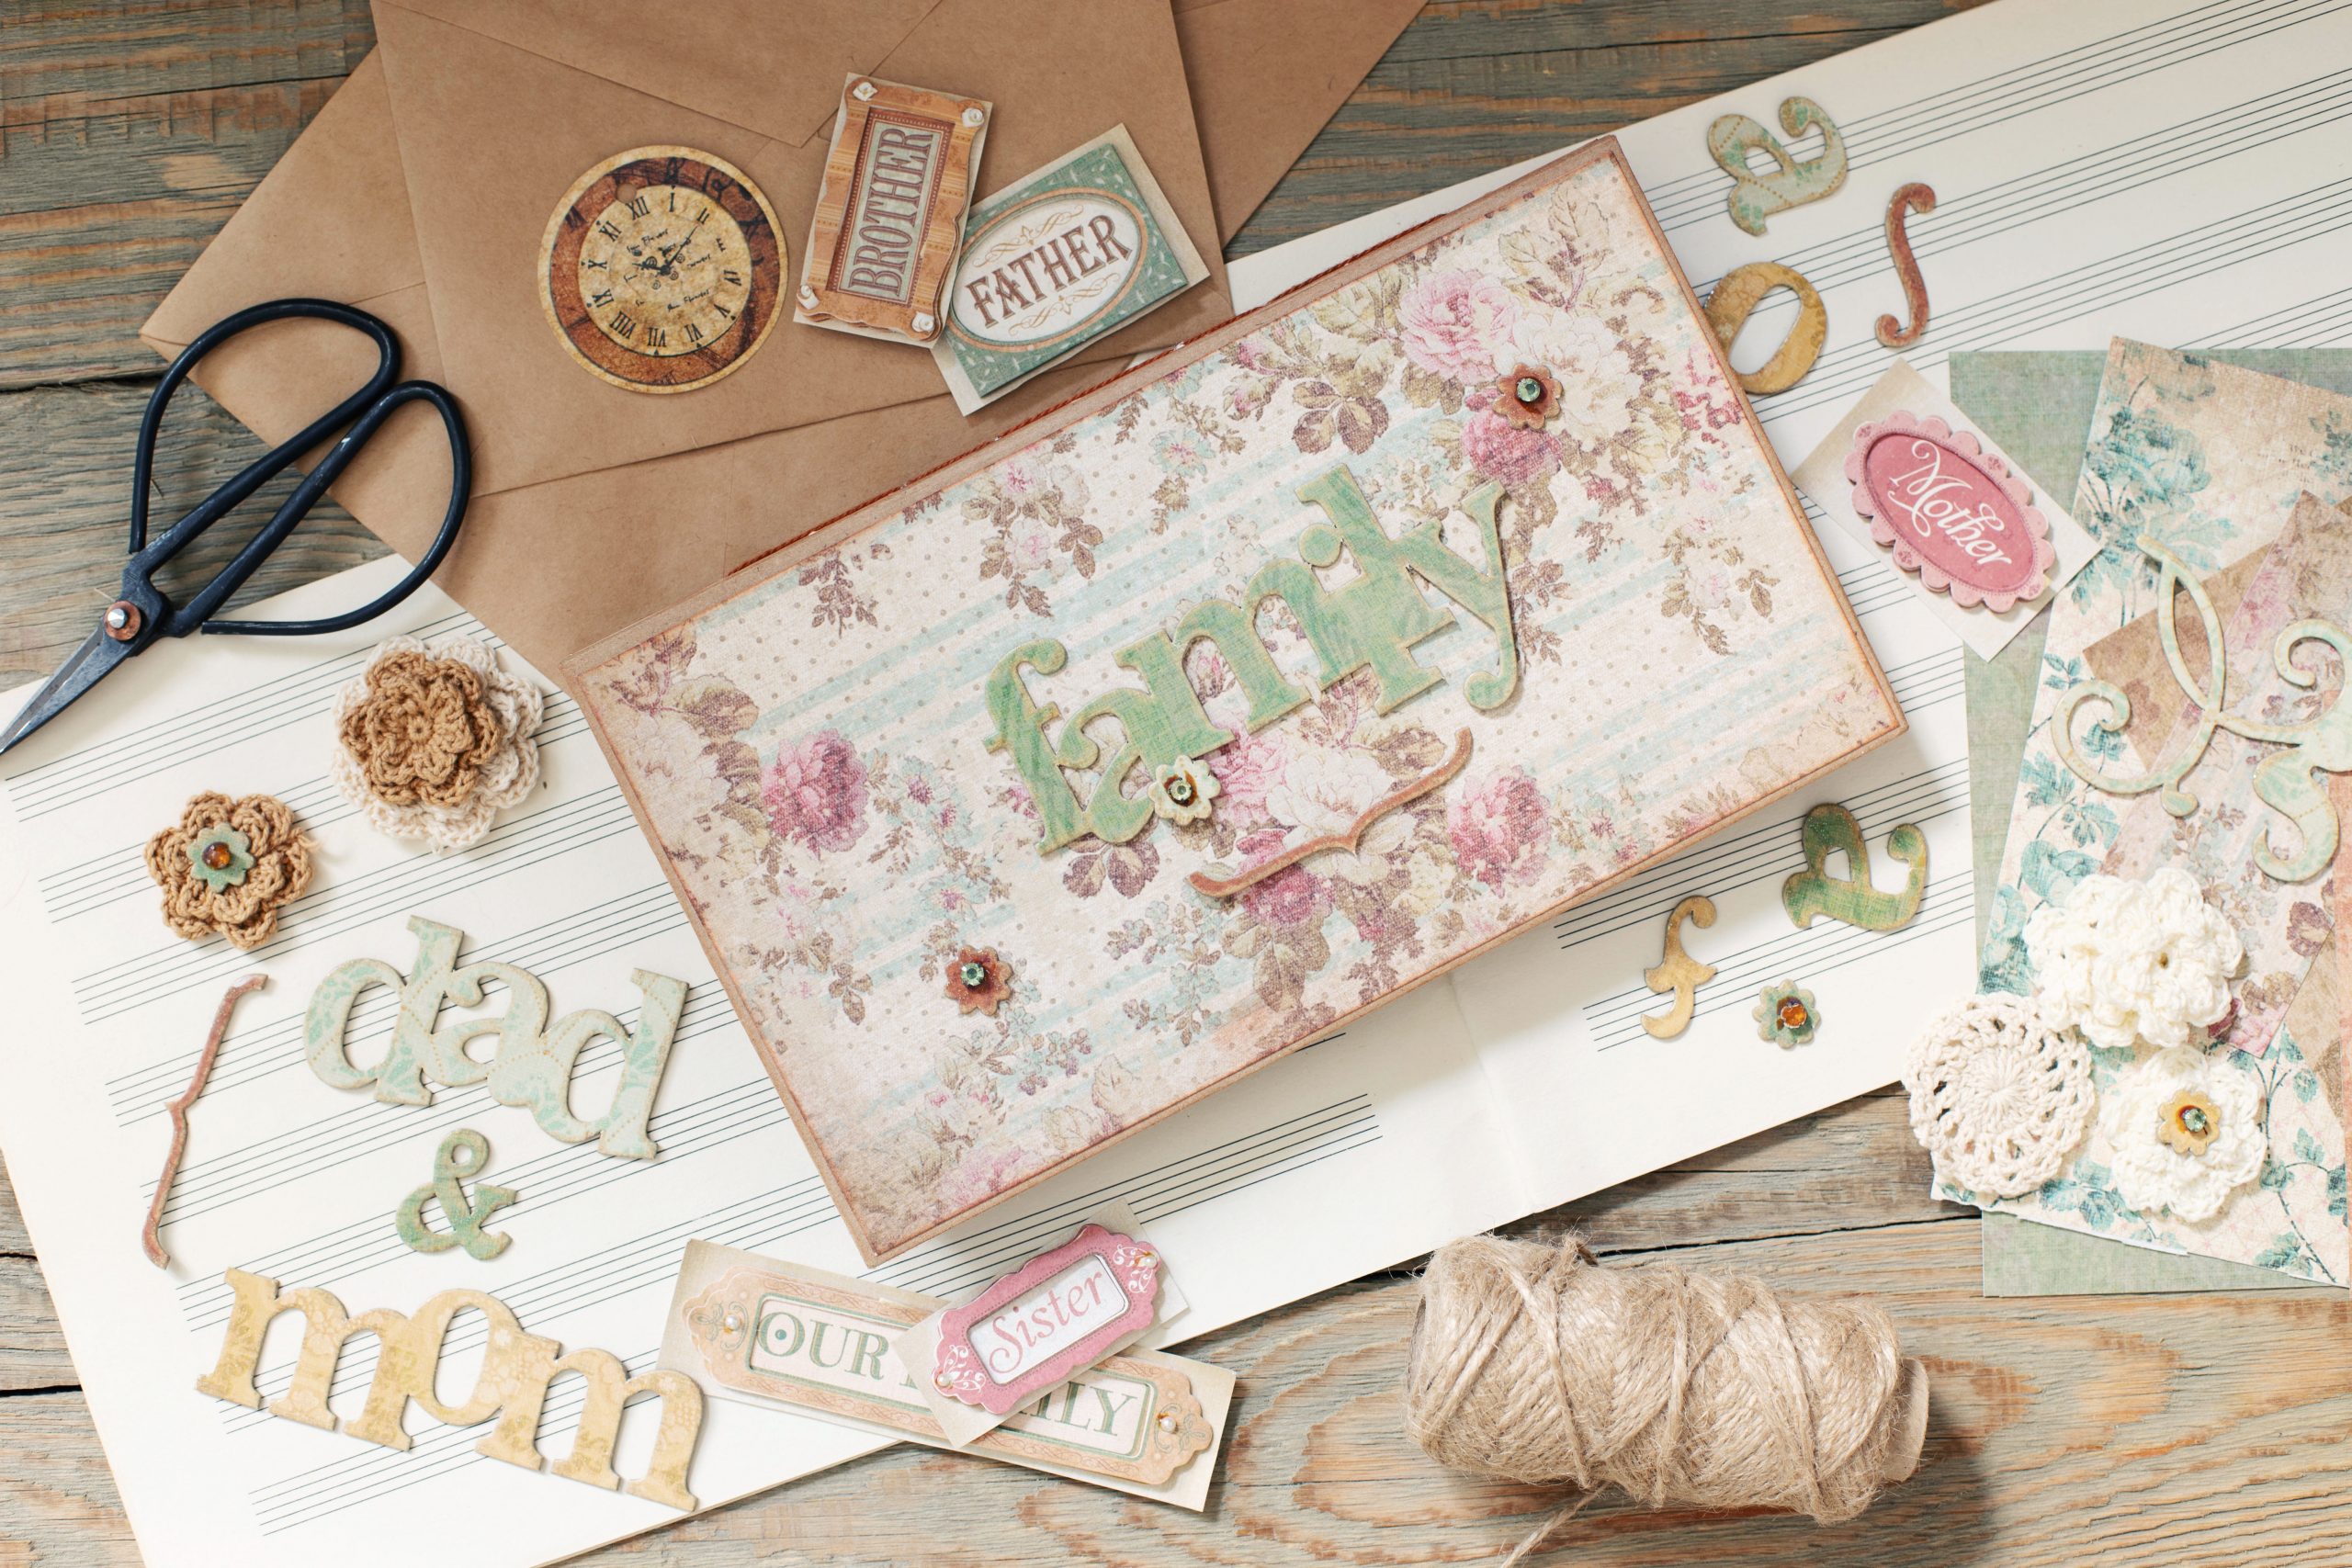
Scrapbooking is more than just a hobby—it’s a personal and creative way to preserve memories, tell stories, and capture moments. Whether you’re crafting a scrapbook for a family vacation, a special event, or just to showcase favorite photos, starting a scrapbook project can be a rewarding and fulfilling experience. Plus, with today’s digital options, scrapbooking is more accessible than ever.
If you’re wondering how to begin your scrapbooking journey, here’s a step-by-step guide to help you get started and a few tips and tricks along the way.
1. Decide on a Theme
Every scrapbook tells a story. Before you dive in, think about what you want your scrapbook to capture. Is it going to document a recent holiday, commemorate a special milestone like a wedding, or feature everyday memories with friends and family? Having a clear theme in mind will guide your design choices and help you stay focused.
Tip: Start with a smaller project if this is your first time. Focusing on one event or a short period of time will help you get comfortable with scrapbooking techniques without feeling overwhelmed.
2. Gather Your Materials
The next step is to gather the materials you’ll need. At the very least, you’ll need:
- A scrapbook album (you can choose between traditional paper scrapbooks or digital scrapbooks)
- Adhesives (such as double-sided tape or glue sticks)
- Scissors
- Decorative paper or cardstock
- Stickers, stamps, or embellishments
- Pens or markers for journaling
If you’re going the traditional route, be sure to choose acid-free materials to protect your photos from fading over time.
Tip: Organize your supplies before you begin. Keep everything in one place so you can easily access what you need without disrupting your creative flow.
3. Select Your Photos
A scrapbook is only as good as the memories it holds, so spend some time choosing the right photos. Look for images that tell a story—whether it’s the expression on someone’s face, a beautiful landscape, or a meaningful object. Be selective and avoid overloading your pages with too many photos.
Tip: Use copies of your original photos, especially if they are irreplaceable. Digital photos can be printed out, and it’s easy to resize them if you want to create collages or smaller images.
4. Plan Your Layouts
Before you start gluing everything down, spend some time arranging your photos and decorations on the page. Think about how you want each page to flow, considering both the aesthetic appeal and the story you’re telling. You can sketch rough layouts or browse Pinterest for inspiration if you’re not sure where to start.
Tip: Use a mix of layouts throughout the scrapbook. Not every page needs to have the same structure. Add variety with full-page photos, smaller collages, and creative embellishments.
5. Add Journaling and Captions
Photos capture moments, but journaling gives them context. Don’t be afraid to write down your thoughts, memories, or even funny anecdotes that make each photo or event special. You can handwrite directly on the page or use printed captions if you prefer a cleaner look.
Tip: Keep it personal. Scrapbooking is about telling your story, so include thoughts, quotes, or details that will help you remember the emotions and experiences tied to the photos.
6. Embellish Your Pages
This is where the fun begins! Add embellishments like stickers, stamps, ribbons, and die-cuts to enhance the theme and make each page uniquely yours. Just be careful not to overcrowd the page—less is often more when it comes to embellishments.
Tip: Choose embellishments that match the theme of your scrapbook. For instance, use seashell stickers for a beach vacation or floral stamps for a wedding album.
7. Take Your Time and Enjoy the Process
Scrapbooking is about creativity and personal expression. Don’t rush the process. Take your time to make each page just the way you want it. This is your chance to reflect on your memories and give them a special place to be preserved.
Tip: Don’t strive for perfection. Scrapbooking is about telling a story, and no story is perfect. Embrace imperfections and let your personality shine through in your design.
