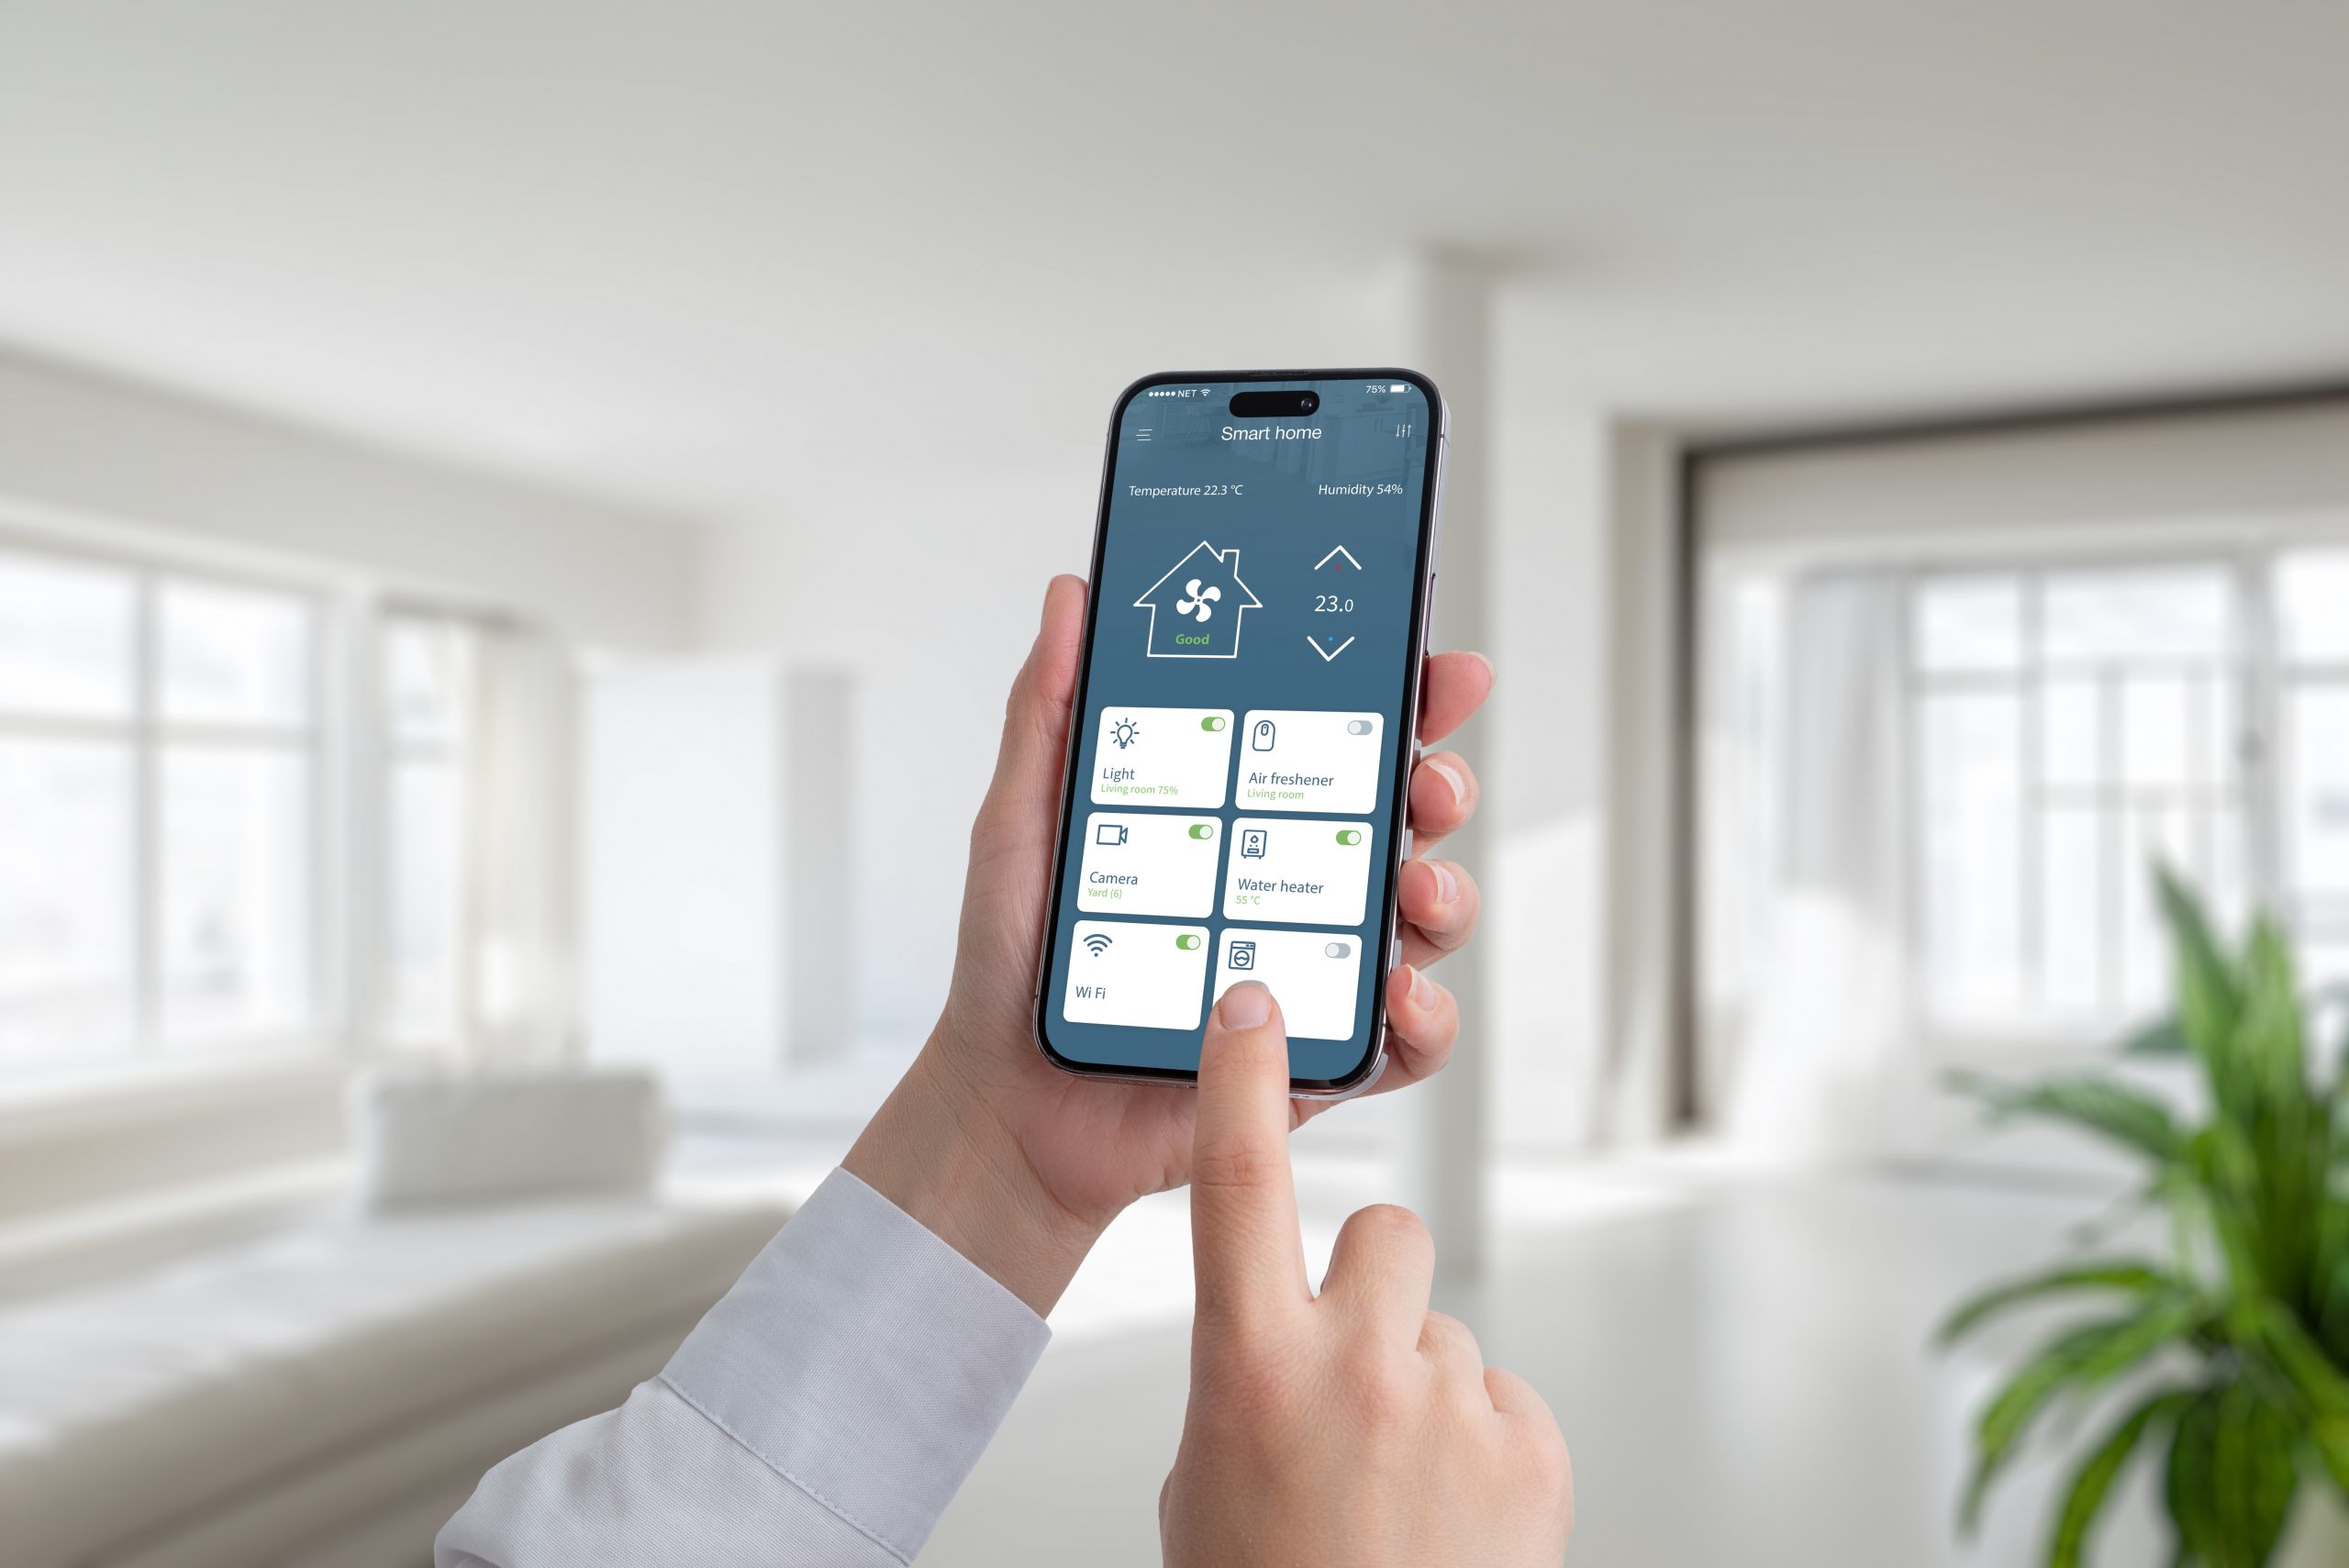
Setting up a smart lighting system in your home can enhance both convenience and energy efficiency, while adding a modern touch to your living space. With smart lights, you can control your lighting from anywhere, create schedules, and even adjust brightness or color with just a voice command or a tap on your smartphone. Whether you’re upgrading for convenience, security, or energy savings, smart lighting is an easy and impactful way to take control of your home environment. Here’s how to set up a smart lighting system, along with practical tips, tricks, and insights to help you get started.
1. Choose the Right Smart Lighting System
The first step in setting up a smart lighting system is choosing the right products that fit your needs and budget. Several brands offer smart lighting options, from bulbs and switches to entire lighting ecosystems.
Tip: Popular brands like Philips Hue, LIFX, and TP-Link offer a range of smart lighting options, from standard white bulbs to multi-colored, dimmable lights. Start with a brand that is compatible with your existing devices, such as Amazon Alexa, Google Assistant, or Apple HomeKit.
Trick: If you’re new to smart lighting, start small with a single bulb or a smart starter kit that includes a few bulbs and a hub or bridge. This allows you to get comfortable with the system before expanding to the entire home.
Insight: Some smart bulbs require a central hub or bridge (like the Philips Hue system), while others, like LIFX bulbs, work directly with your Wi-Fi without the need for a hub. Consider how much integration and control you want before purchasing.
2. Install Smart Bulbs or Switches
Once you’ve selected the right system, installing smart bulbs or switches is the next step. Smart bulbs are the simplest option, as they screw into your existing fixtures, but smart switches allow you to control regular light bulbs with smart features.
Tip: If you’re using smart bulbs, simply replace your current light bulbs with the new smart ones. Most smart bulbs are compatible with standard light sockets, so the installation is as easy as screwing in a traditional bulb.
Trick: For smart switches, you may need to do some basic wiring. If you’re comfortable with electrical work, you can install a smart switch by turning off the power to the circuit, replacing the old switch with the new one, and following the manufacturer’s instructions. If not, consider hiring an electrician for safe installation.
Insight: Smart switches are a great solution for controlling multiple lights with one switch. They allow you to use smart lighting with your existing bulbs, which can be more cost-effective than replacing every bulb in your home.
3. Connect to a Smart Hub or Wi-Fi Network
After installing your smart bulbs or switches, the next step is connecting them to a smart hub or directly to your home’s Wi-Fi network, depending on the system you’ve chosen.
Tip: Follow the manufacturer’s instructions to connect your smart lighting system to your home network. Most systems require you to download a companion app that will guide you through the setup process. You’ll typically need to scan a QR code or enter a device ID to pair the bulbs or switches with your network.
Trick: Make sure your Wi-Fi signal is strong in areas where you’re setting up smart lighting. If your router’s signal is weak, consider using a Wi-Fi extender to ensure all your smart devices stay connected.
Insight: Some smart lighting systems integrate with other smart home devices like security cameras or thermostats, allowing you to control all your home automation through a single app. Explore the integration options within your chosen system to make the most of your smart home setup.
4. Set Up Smart Controls and Automations
Once your system is connected, it’s time to customize your lighting with smart controls and automations. Most smart lighting apps allow you to set schedules, adjust brightness, and create scenes or routines based on your daily activities.
Tip: Use the app to create custom lighting schedules. For example, you can set your lights to turn on gradually in the morning as an alarm, or to turn off automatically at bedtime. You can also program the lights to turn on when you arrive home or turn off when you leave.
Trick: Explore voice control options by integrating your smart lighting with a voice assistant like Alexa, Google Assistant, or Siri. You can use simple voice commands like “Alexa, turn off the living room lights” or “Hey Google, dim the bedroom lights to 50%.”
Insight: Many smart lighting systems offer advanced features, such as geofencing, which allows your lights to turn on or off based on your location. For example, your lights can automatically turn off when you leave the house and turn on when you return, providing both convenience and added security.
5. Expand Your Smart Lighting System
Once you’re comfortable with your smart lighting system, you can expand it to other rooms and areas of your home. Smart lighting can also be used outdoors for enhanced security or to create ambiance for patios and gardens.
Tip: Consider adding smart lights to high-traffic areas like the kitchen, living room, or entryway, where you’re most likely to need remote control or scheduling. You can also integrate smart lighting with motion sensors to automate outdoor lights for security.
Trick: Explore creative ways to use smart lighting, such as setting up color-changing bulbs to match the mood of a movie night or dimming lights to create a cozy reading nook. Smart lighting offers flexibility that goes beyond simple on/off controls.
Insight: Smart lighting is a scalable solution, so you can start small and expand over time. Whether you want to control a single room or automate the entire house, smart lighting systems are designed to grow with your needs.
