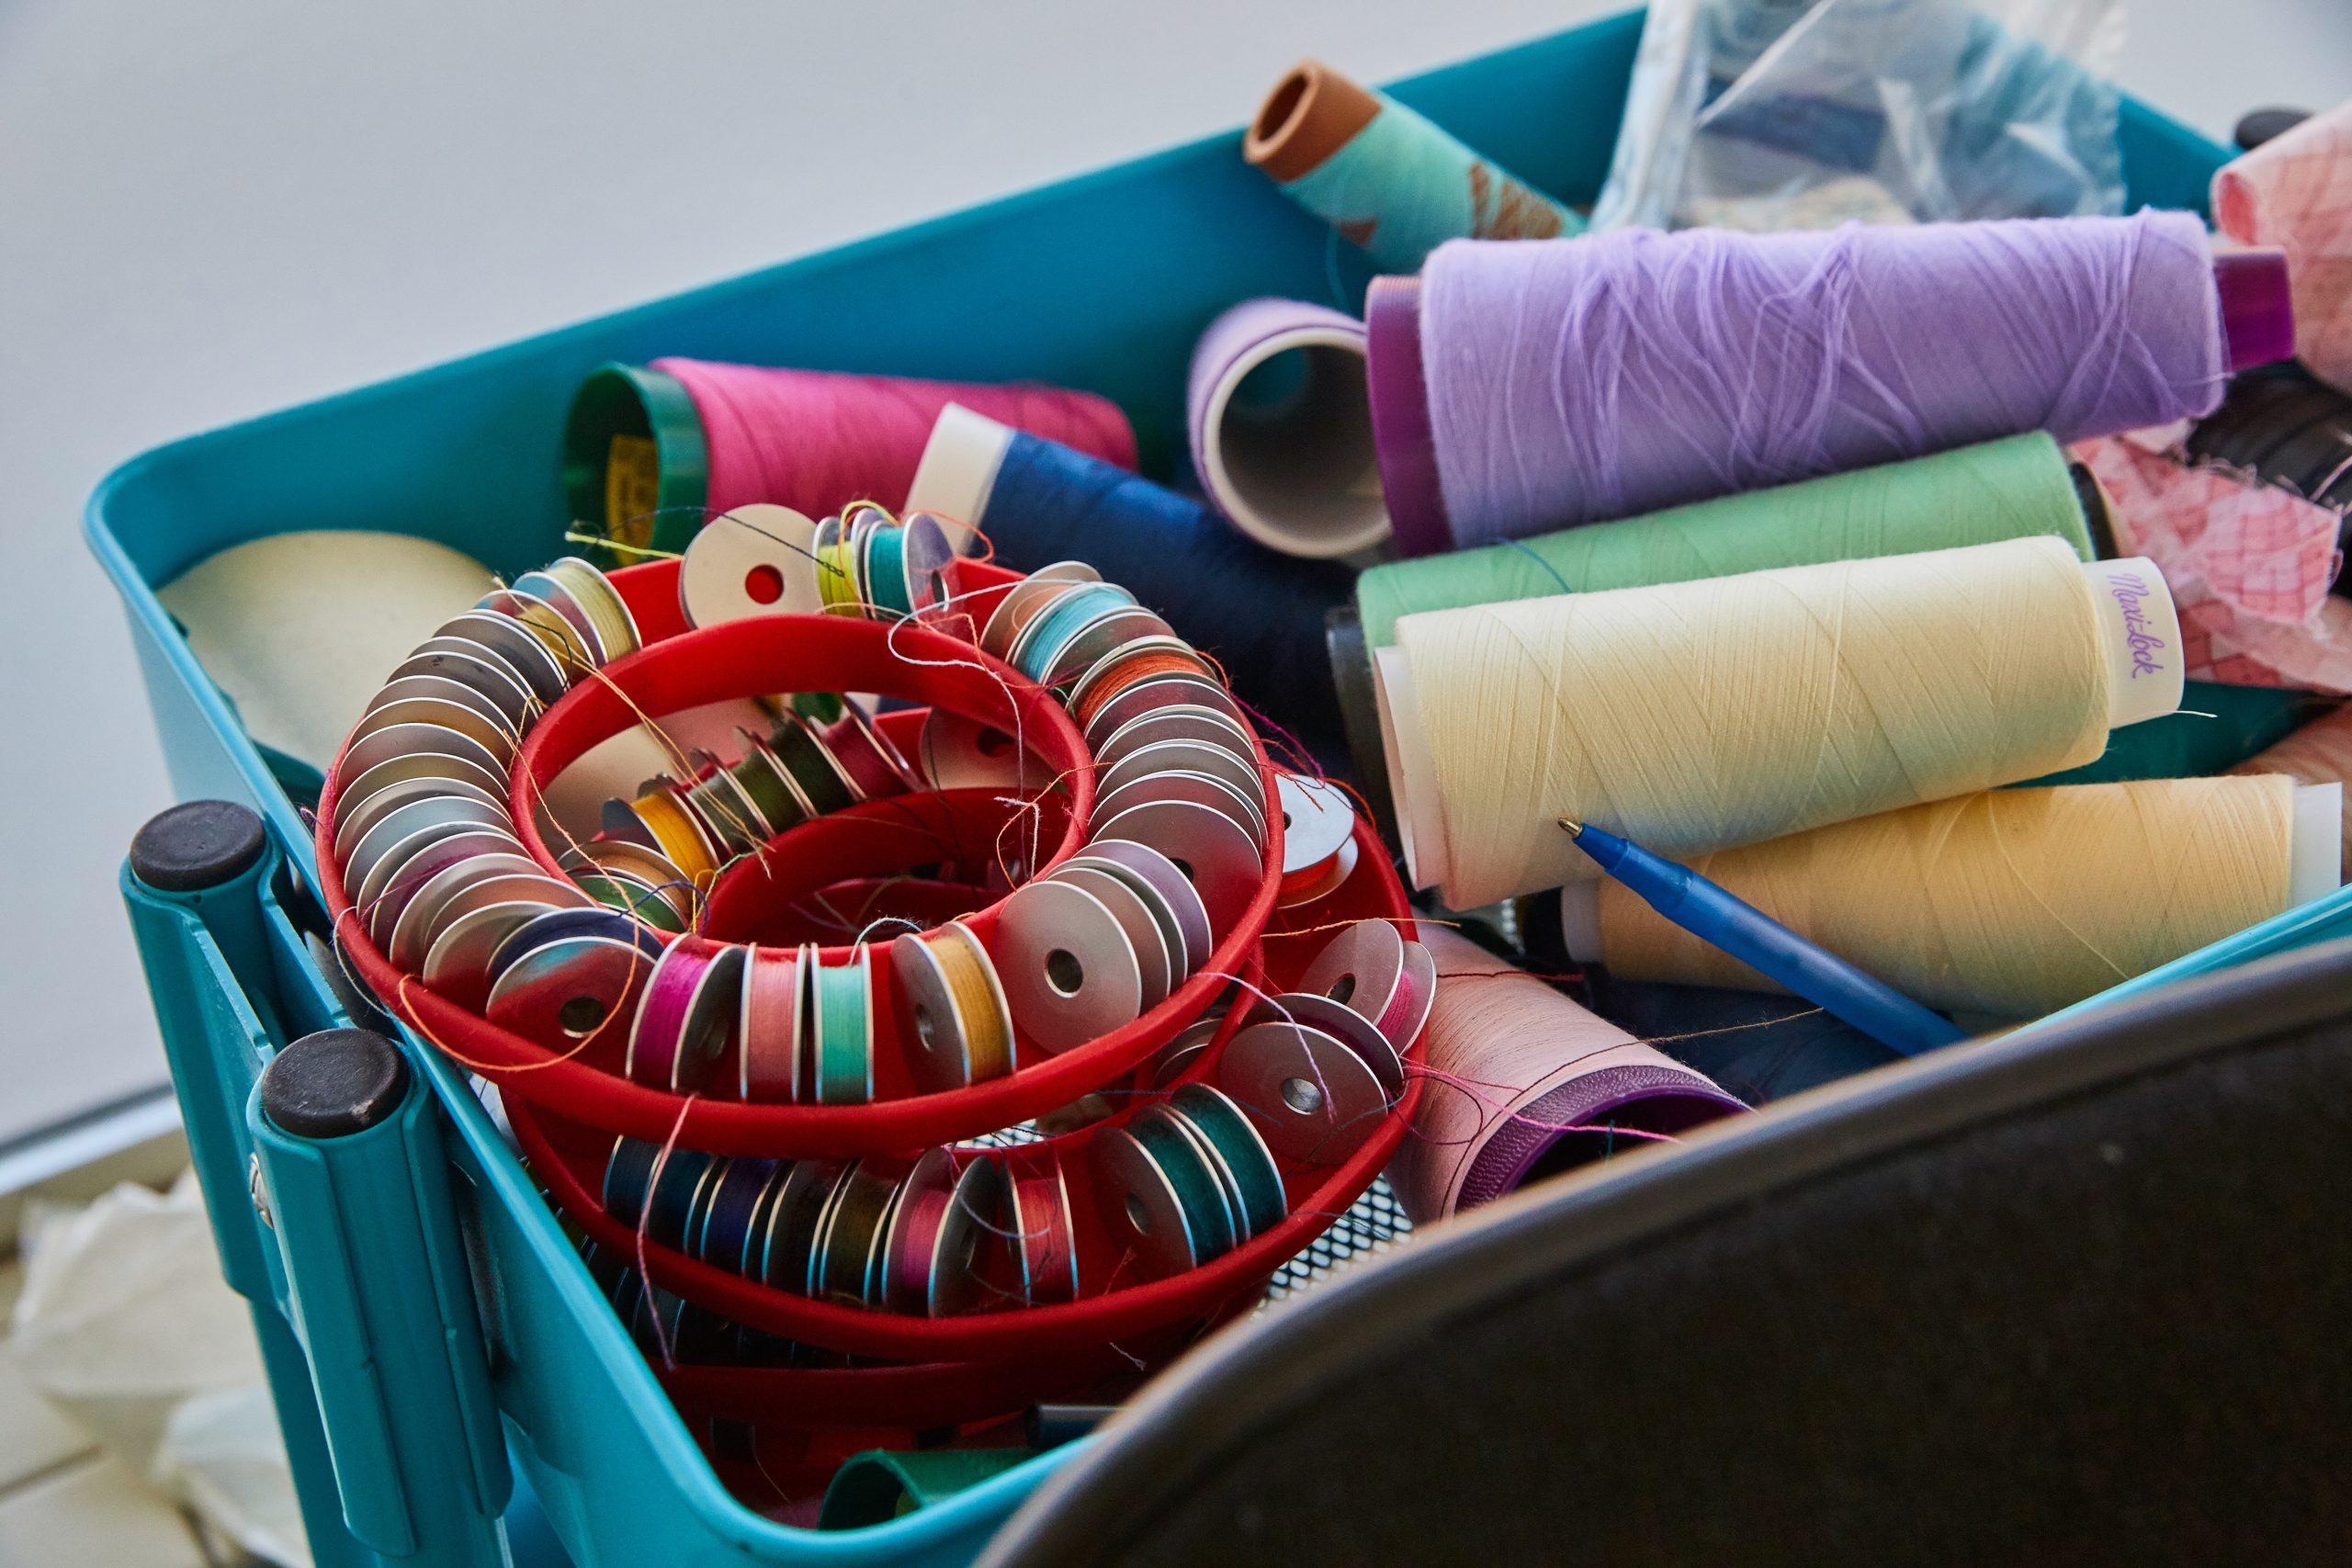
Having a dedicated space for your creative projects can be a game-changer for hobbyists and crafters alike. Whether you’re into sewing, painting, scrapbooking, or any other craft, setting up a craft room at home allows you to keep your supplies organized and easily accessible while providing a space to fully dive into your creativity. If you’re ready to create your own crafting haven, here are some tips to help you set up a functional and inspiring craft room at home.
1. Choose the Right Space
The first step in setting up your craft room is choosing the right location. You don’t need a large area—just a space that can be tailored to your crafting needs. Consider converting a spare bedroom, a section of the basement, or even an unused corner of a room into your craft space.
Make sure the room has enough natural light or can be easily brightened with lamps, as good lighting is crucial for most crafting projects. If you’re working with materials like fabric or paper, ensure the space has good ventilation to avoid exposure to dust or fumes.
Tip: If you don’t have a full room available, a multi-functional space (like part of the home office) can still work well for crafting. Use portable storage solutions like carts or foldable tables to keep your space flexible.
2. Invest in a Sturdy Workstation
Your craft room’s workstation is the most important piece of furniture. Whether it’s a desk, a workbench, or a large table, you need a space where you can comfortably spread out your supplies and work on your projects. Choose a sturdy, flat surface that gives you plenty of room for cutting, painting, or assembling materials.
If your crafting involves a sewing machine, consider a sewing table with a recessed platform to keep the machine level with the surface for a smoother sewing experience.
Tip: Invest in a work surface with built-in storage options, such as drawers or cubbies, to keep essential tools within easy reach.
3. Organize Your Supplies
One of the best parts of having a craft room is keeping all of your materials and tools organized. Storage is key to creating a functional and clutter-free space. Invest in shelves, bins, baskets, and drawers to categorize and store your crafting supplies based on their use.
- Clear bins or labeled containers work well for storing items like fabric, beads, paper, and other materials.
- Pegboards are perfect for hanging tools like scissors, rulers, and cutting mats. They keep your frequently used items visible and within arm’s reach.
- Rolling carts are excellent for portable storage, allowing you to move supplies around the room as needed.
Tip: Make sure to organize your supplies in a way that makes sense for your projects. For example, if you do a lot of scrapbooking, keep your paper, stamps, and adhesives in one dedicated space for easy access.
4. Ensure Proper Lighting
Good lighting is essential for any craft room, especially when working on detailed projects. If possible, choose a space with ample natural light—placing your workstation near a window is ideal. If that’s not an option, make sure you have proper task lighting, such as a desk lamp with an adjustable arm or a bright overhead light.
For more intricate projects like painting, beading, or sewing, a daylight lamp or LED lighting is a great investment to ensure true color rendering and reduce eye strain.
Tip: Consider using magnifying lamps for precision work like jewelry making or embroidery to ensure accuracy and prevent fatigue.
5. Create Zones for Different Activities
If your craft room is multi-functional, it’s a good idea to create zones for different activities. For example, you can set up a sewing zone in one area and a painting or drawing zone in another. Having designated areas for different crafts helps you stay organized and keeps your tools and materials separated.
Additionally, you can dedicate a storage zone for materials and supplies, a workstation zone for your primary projects, and a cleanup zone with a sink or cleaning supplies for easy maintenance after crafting sessions.
Tip: Use rugs or furniture dividers to separate different crafting zones and create a more organized and functional flow within the room.
6. Add Personal Touches
Your craft room should be a space that inspires creativity and feels comfortable to work in. Adding personal touches like framed artwork, inspirational quotes, or favorite photos can make the space more inviting and reflective of your personality.
Consider painting the walls a color that sparks creativity, such as a soft pastel or a vibrant hue, depending on your preferences. Adding some plants or greenery can also bring life into the room and create a calming environment.
Tip: Keep the walls near your workspace clear so you can hang a corkboard or whiteboard to display ideas, sketches, or upcoming project notes.
7. Keep It Comfortable
You’ll likely spend hours working on your crafts, so it’s important to make your craft room as comfortable as possible. Choose a comfortable chair with good support, especially if you’ll be sitting for extended periods. Consider installing a small fan or space heater if your room gets too hot or cold, ensuring that the temperature remains comfortable while you work.
Tip: Add a small relaxation area with a chair or cushion where you can take a break and recharge in between projects.
